I have recently finished my master thesis project. Now I have been asked to integrate my project with another project my university is running. This project is a distributed Java project. Components of the project are implemented as Java Servlets, which run on a Tomcat server. The communication between the various components is implemented using the Jersey library.
So, the idea is that I implement the various components from my projects as Java Servlets, capable of running on a Tomcat server, using the Jersey library. In order to develop for this target, some set-up is required. First of all, as an IDE, not the regular version of Eclipse, but Eclipse for Java EE developers is required.
Once we have that edition up and running, we can create the set-up required for tomcat. Eclipse can download and install an installation of tomcat in a specified directory. I usually don’t like to install software outside the package manager, but since Eclipse will write configuration files, simply pointing to the system installation of Tomcat is not going to work.
So, let’s have a look at this Tomcat. Start Eclipse in a new workspace, and click the “Workbench” arrow in the top right.
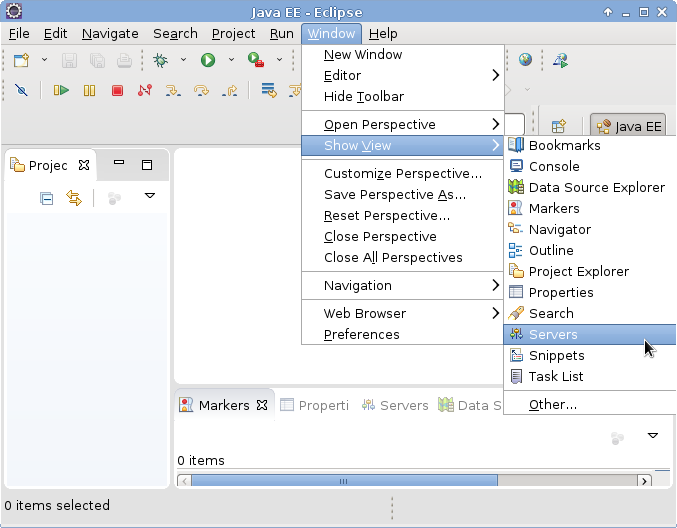
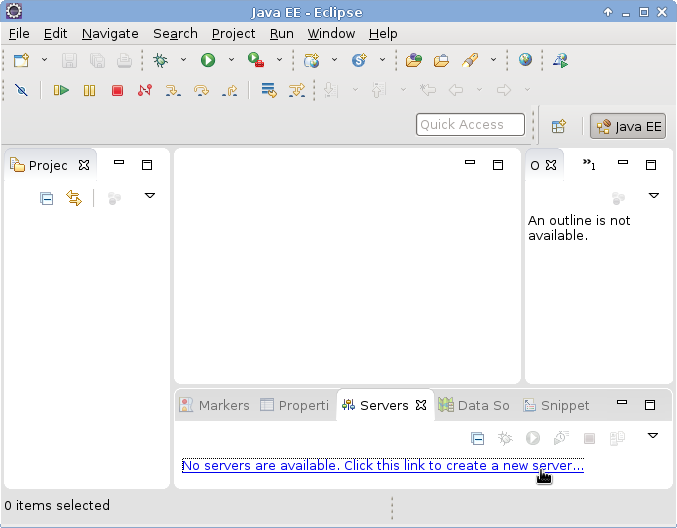
Then, click windows -> show view -> servers. Now, a message appears at the bottom saying to servers have been configured. Click the message to configure a server.
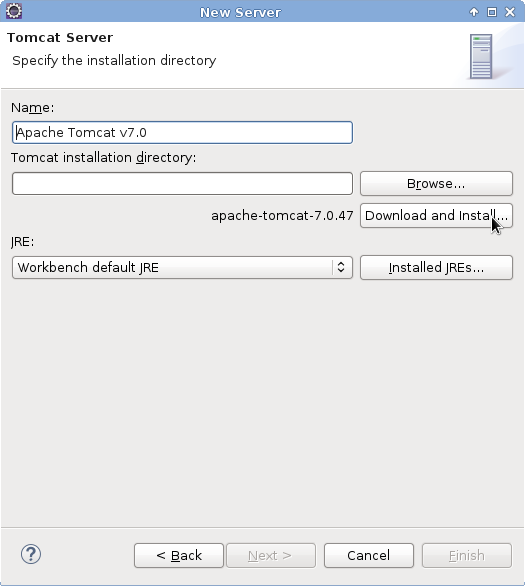
Select Server type “Tomcat v 7.0” (listed under Apache). Please note that I am using Tomcat version 7 as this is the version used by my university. I suppose new projects should use version 8 instead.
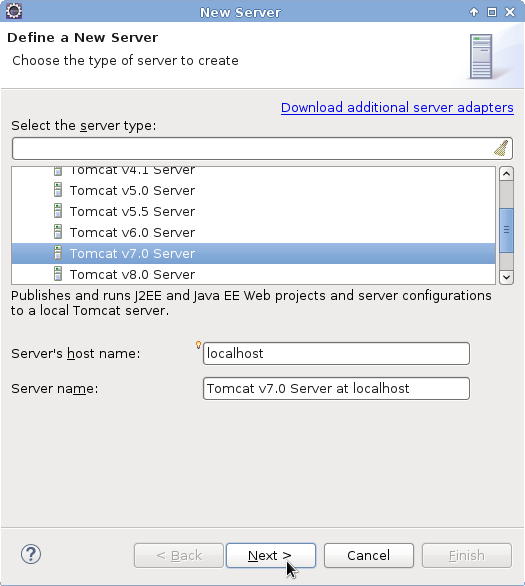
In the next window, click Download and install, select a directory in your home directory, and wait until the
Finish
button is no longer gray. At the main window, right bottom, a progress indicator will be visible
Now, we follow this tutorial, section 6.1 and 6.2. For the jersey library, I’ll use the Jersey 1.18 zip bundle from the jersey website. I am using version 1.18 as this is used by my university. New projects should probably use an 2.x version. The JAR bundle should work as well but does not include all libraries. When using the bundle, the asm library should be downloaded separately.
Now, take a look at section 6.3. This example is written for the glassfish server, however, we are using the tomcat server. Replace org.glassfish.jersey.servlet.ServletContainer by com.sun.jersey.spi.container.servlet.ServletContainer.
Now, when we attempt to start the server, a configuration error message will appear.

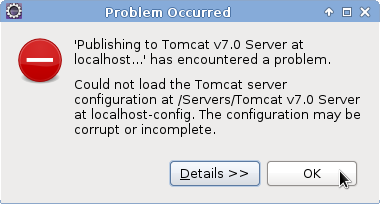
I am not quite sure what causes it, but when we delete the server and add it again, it will work. Now we’ve got a working Jersey Hello World running within Eclipse JEE.
